Overview
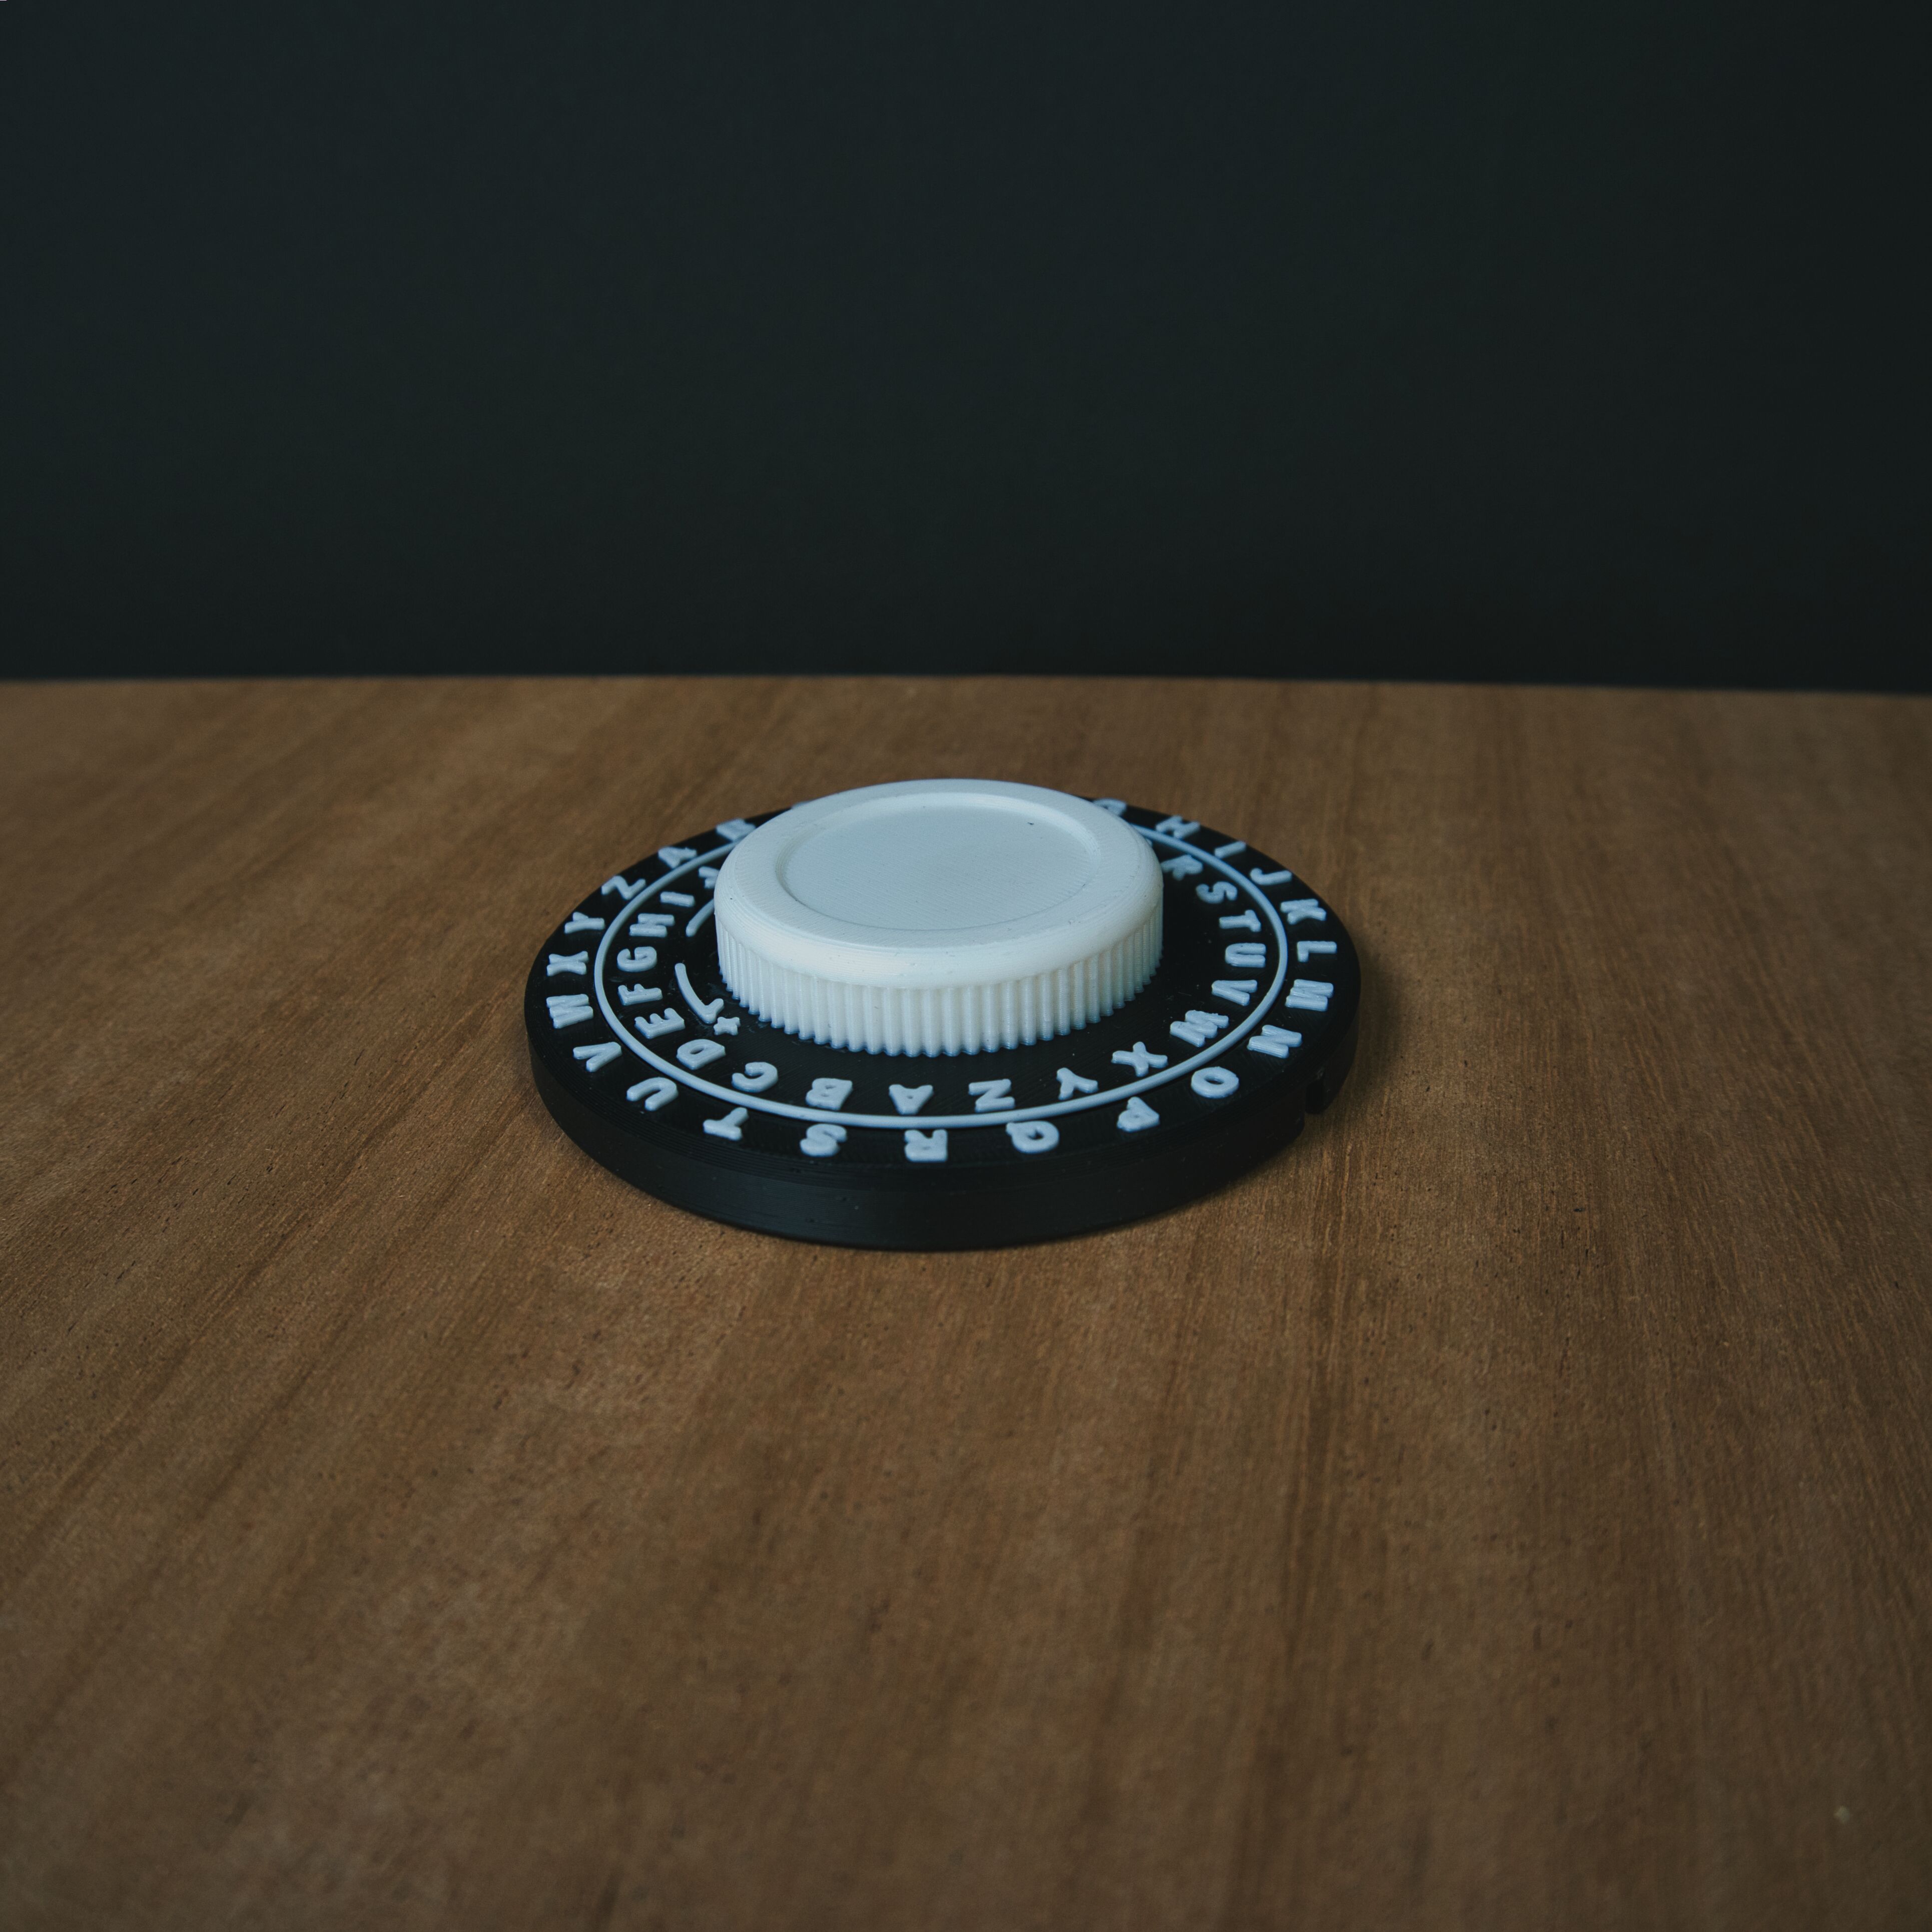
The Caesar Cipher Wheel is an educational activity designed to introduce young students to the concept of cryptography through a tactile, physical tool. The two-disc wheel lets students rotate the inner ring to set a shift value and then encode or decode messages letter by letter.
The project covers the full production pipeline: 3D modeling the wheel in Fusion 360, printing and testing multiple tolerance iterations, and designing a companion quick-reference guide in Affinity Designer that walks students through their first cipher without an adult's help. It is printed in place so it's very fast to bulk produce and only contains a single layer change to minimize print waste.
| Specification | Detail |
|---|---|
| CAD | Autodesk Fusion 360 |
| Print material | Black and White PLA |
| Assembly | Print in place, with an optional spring loaded detent insertion point. |
| Guide design | Affinity Designer |
| Guide format | Single sheet, 8.5x11 size, black and white |
| Target audience | Students aged 8-12 |
Process
How it came together
Concept & Sizing
The wheel needed to be large enough for kids to move easily. A 100 mm outer diameter was settled on after paper prototyping the letter spacing around the circumference and I can fit 8 on my printer for making a class set.
CAD in Fusion 360
The outer ring and inner disc were modelled as separate bodies. Parameters drove the letter pitch so the 26-character alphabet could be redistributed cleanly if the diameter changed. A tapered fit means it's print in place for no assembly required off the printer.
Print Iteration
Three iterations dialed in the clearance between the disc and ring.
Lab Sheet
The companion guide was laid out in Affinity Designer as a single sided 8.5x11 sheet.
Visual Design
The guide uses a clean, high-contrast layout with large type and numbered steps. Working top down, a sans serif font keeps the style consistant with the physical product, which used Arial font for manufacturability with a 0.4mm nozzle on the printer.
Student Testing
A small group of students ran through the activity with the guide and no adult prompting. They seemed to have fun spinning them and were able to turn them easily.
Future features/expansion I gave the top of the central hub a debossed circle so that branded version could be produced with a laser engraved badge in the middle. This is shown in the instruction set, which I made a placeholder with my personal company branding.
Gallery
Product photography
Contributions
Who did what
Ashton Gilmore
Full project — CAD modelling, print iteration and tolerance testing, quick-reference guide design (Affinity Designer), visual layout, and student usability review.
Students
Usability feedback during a live classroom session, which informed a final revision to the decoding step in the printed guide.